
How to Connect a Gutter to a House?
Description
Properly connecting a gutter to your house is essential for protecting your roof, siding, and foundation from water damage. Gutters are made so that they can gather rainwater on the roof and divert it off the building, avoiding removal and mould formation, as well as rotting of the building. Nevertheless, even high-quality gutters could not work if they are not properly fixed and mounted. The connection process does not just consist of attaching metal to fascia boards, but should be done with great care in terms of measurements, alignment of slope, and the position of the bracket should be secured and should be water-tight.
It does not matter whether you are fitting new gutters or replacing the old ones; by knowing how to join gutters to the house, there will be long-lasting durability and good drainage. Just like professional estimating services help plan construction accurately, proper gutter installation depends on precise planning and careful execution from start to finish.
Tools and Materials Needed
To install a gutter on the house in a proper way, collect the following tools:
- Measuring tape
- Level
- Chalk line
- Drill or impact driver
- Tin snips (aluminum gutters)
- Ladder
- Safety gloves and glasses
- Gutter hangers
- Steel screws, exterior grade or stainless steel.
- Silicone gutter sealant
It is more efficient with everything being ready in advance before beginning, and this helps to avoid making errors.
Step 1: Inspect and Prepare the Fascia Board
Gutters should be attached to the fascia board, which has to be structurally sound. Inspect it for:
- Rot
- Cracks
- Loose boards
- Water damage
If the fascia is broken, the fascia must be replaced first, and then the gutter system must be installed. When the gutters are attached to weak wood, they may sag or detach altogether.
Make sure that the fascia surface is dry and clean.
Step 2: Calculate the Appropriate Gutter Slope
Maintaining the correct slope is one of the most important factors when installing a drainage system, as it ensures proper water flow and long-term performance. Accurate gutter estimates help determine the required materials, labor, and installation costs before the project begins. The gutters should have a slight slope to the downspout so that water can pass.
The recommended slope is:
A quarter inch for every 10 feet of gutter length.
To mark the slope:
- Trace the top (just above the downspout).
- Measure the total run length.
- Calculate the required drop.
- Draw a chalk line to indicate the slope.
This rule makes sure that there is no water stagnating in the gutter.
Step 3: Fitting the First Gutter Hanger
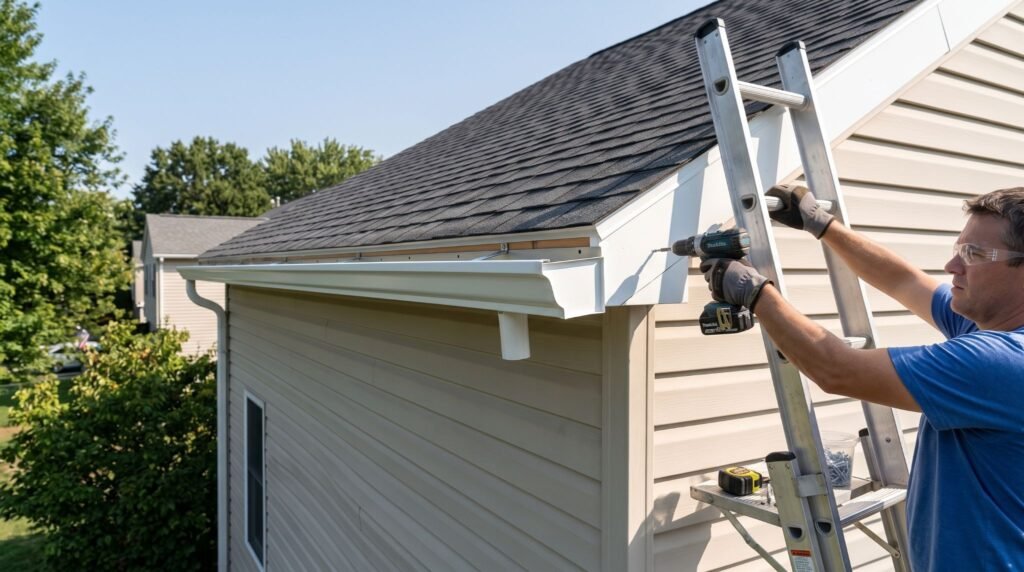
Installation should start at the peak of the slope.
- The first hanger should be roughly 1 inch below the roof line.
- Fasten it straight into the fascia board with exterior-grade screws.
- Make sure that it matches the chalk line of your slope.
- The initial bracket lays the foundation of the rest of the system; hence, accuracy is required.
Step 4: Furnish and Place More Hangers
The gutter hangers must have a space of 24 to 36 inches to be supported. Where there is heavy snow or rainfall, it should be spaced closer (approximately 24 inches).
When installing hangers:
- Follow the chalk slope line.
- Fix screws into solid wood (do not simply sheath).
- Make the gutter a little bit lower than the roofline to allow the water to enter it.
The correct distance between hangers will avoid the sagging of material and enhance the durability of the system.
Step 5: Gutter Slice and Dislodge
Cut the gutter carefully and measure beforehand. Aluminum gutters should be cut using tin snips, and the cuts should be straight and clean.
To attach sections:
- Slide the gutter into the installed hangers.
- Fasten each of the hangers around the gutter edge.
- Attach several sections with gutter connectors, and use sealant in the interior of the joint.
- Use silicone sealant at all times to avoid leaks at the seams.
Step 6: Install End Caps
When your gutter run does not turn a corner, you can end that open end with end caps.
- Lay sealant over the inside edge.
- Press the cap deeply in.
- Allow the sealant to dry.
- When it is well sealed, it will not leak at the sides.
Step 7: Lay the Downspout Outlet
The gutter is interconnected with the vertical drainage pipe via the downspout outlet.
To install:
- Indicate the location of the outlet at the base of the slope.
- Follow the shape of the outlet on the bottom of the gutter.
- Cut the opening carefully.
- Place the outlet and fasten it.
- Seal edges thoroughly.
This measure ensures efficient water flow from the drainage system to the ground while reducing the risk of water damage. Reliable masonry estimates also help accurately calculate the materials, labor, and associated costs for related construction work before the project begins.
Step 8: Attach Downspout to the House
The downspout carries the water off the foundation.
To secure it:
- Use the elbow joints to join the outlet to the wall.
- Fix it to the exterior wall using downspout brackets.
- Spacing is of the order of every 6 to 8 feet.
- Make sure the bottom of the downspout is at least 3 to 5 feet away from the foundation, either with an extension or splash block.
Step 9: Review Congruence and Stasis
After installation has been done:
- Put water into the gutter to check the flow.
- Inspect for any leakage at end caps and seams.
- Make sure that the water flows down the drainage to the downspout.
- Tighten any loose fasteners.
Solve problems as soon as possible to avoid long-term harm.
When to Hire a Professional
Although it can be installed by the user, it is suggested that a professional be hired in case:
- Your roofline is complex
- Your home is multi-story
- Fascia repair is needed
- You like clean gutters (special equipment is required).
Professional installers correct the slope alignment, and they also ensure firm attachment, particularly when the systems are large or custom-built.
Maintenance Tips After Installation
Once you have joined the gutter to the house, it is maintained to ensure it operates properly.
Maintenance includes:
- Cleaning debris twice a year
- Ensuring that fasteners are tight.
- Inspecting sealant joints
- Having downspouts clear.
Regular maintenance helps avoid expensive maintenance costs and increases the life of the systems.
Conclusion
There is a need to prepare, measure accurately, and secure when connecting a gutter to your house. Starting with the examination of the fascia board to the creation of the correct slope, installation of hangers, joint sealing, and downspouts, each phase is crucial to the prevention of effective water management. Gutters installed correctly will keep the roof of your house, the side, the foundation, and the gardens of your home dry. With proper installation methods and the elimination of some of the most common errors, you can have an efficient and long-lasting drainage system.
FAQs
How far below the roof edge should gutters be installed?
Gutters are supposed to be positioned approximately 1 inch below the roof edge in order to ensure the water does not overflow.
What is the recommended slope of a gutter?
The normal slope is 1/4 inch per 10 feet of gutter length leading to the downspout.
Is it possible to fit gutters without fascia boards?
No, gutters should have a solid fascia board or any other support system to guarantee their secure fixation and appropriate support.
To Read Site: latestversion